Northern Lights, aurora borealis, are a wonder of nature that only few people get to see. We want to help everyone enjoy these stunningly beautiful apparitions so here are some tips on when, where, and how to see Northern Lights.
Northern Lights are created when the high-energy particles created by solar winds crash together with the atoms in Earth’s upper atmosphere. These high-energy particles, usually electrons, may create photons (= light), which them light in different colours according to what gasses they interact with and how much energy the particles have.
- Northern Light colours
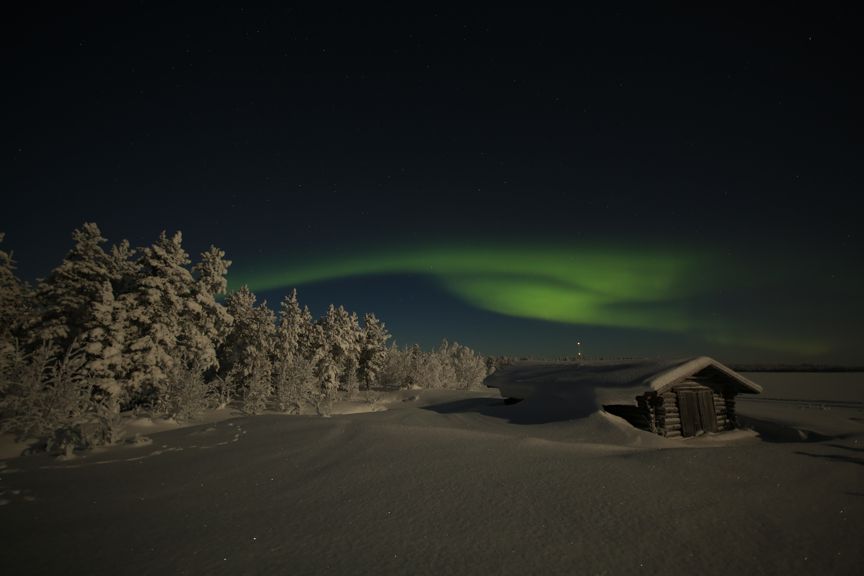
- green: created by monoatomic oxygen and most common.
- red: created by molecular oxygen, a bit more rare.
- blue: rare colour created by ionized nitrogen molecules. Blue auroras can be seen only very rarely in the best of displays in their maximum phase or just after.
- white: seen in very faint auroras when no other colour is clearly visible. Sometimes you can only tell you’ve seen auroras when the glow appears on your camera.
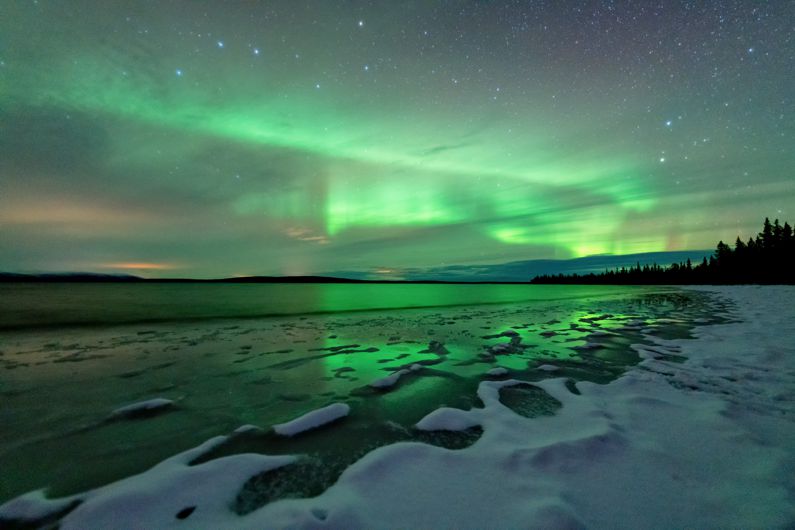
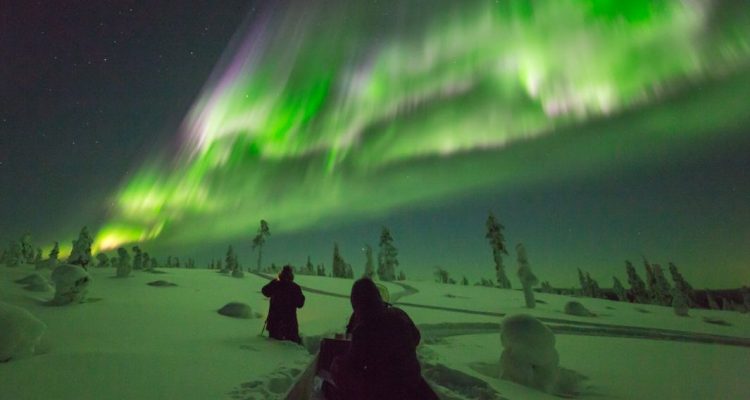
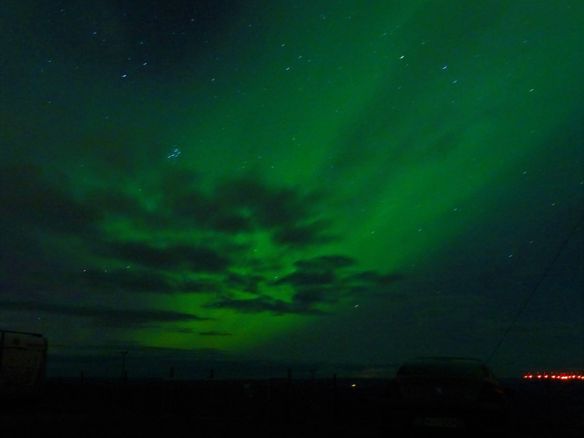
Photo by Guy Geffen. Camera: EOS 5D Mark III. f/1.8, ISO 3200, exposure 3/10.
Auroras: when and where?
In places like Finland, anywhere above the Arctic Circle (above 66° parallel North), the Northern Lights can be seen most frequently. The only time when you can’t really see them is when the Arctic is experiencing the Midnight Sun: this is the time when the Sun doesn’t set below the horizon and it’s basically constantly light. The higher up North you go, the longer the Midnight Sun lasts; in Rovaniemi (66°) it’s between 6.6.-7.7., but in Levi (68°) it’s between 26.5.-17.7.
The best times to see Northern Lights is when the sky is dark enough and there is as little light pollution (city lights etc.) as possible. Kaamos or the polar night is a time in the middle of the winter when the Sun doesn’t rise above the horizon, meaning it’s either pitch black, light dawn or light dusk all the time. Once again, the higher up North you go, the longer the polar night lasts: in Rovaniemi (66°) the Sun does rise even during the darkest times, but in Levi (68°) polar night is between 9.12.-3.1. Polar night is great time for catching auroras because it extends the time frame to up to 20h in a day.
However, celestially thinking the best seasons to see auroras is around the autumnal and spring equinoxes, meaning September and March, respectively: these are the times when the Earth’s position to the Sun enables auroras the most.
Auroras: how?
A good service catching the elusive auroras is the Auroras Now! site, which is a space weather service maintained by the Finnish Meteorological Institute (FMI) to help watching auroras in Finland.
Watching Northern Lights doesn’t require any specialist equipment. If you are peering at the sky during the winter, make sure you wear plenty of warm clothes because perfect aurora weather means clear skies and bone-chilling temperatures. An age-old tradition of enjoying the Northern Lights without having a sore neck the next morning is to simply lie on your back in the snow. If you’re enjoying the auroras in a place with no snow, a good place to go is higher up: the top of a fjell or a mountain is perfect but also a large woodless area like the shore of a lake is good because you can then look into the distant horizon without straining your neck.
When you settle to watch the auroras, make sure you are warm enough. The best places for watching also tend to be open places with plenty of wind. When you are settled, make sure you switch off all light sources. Northern Lights can be faint and fast, so all extra light makes it harder to concentrate on them.
The most important tip we can give you is to take your time. If the forecast predicts Northern Lights, make yourself comfortable and warm, and just wait. If you do manage to see Northern Lights, then allow yourself to enjoy them in peace and quiet because they can even talk to you.
Taking photos of the Northern Lights
Taking pictures of any heavenly bodies can be tricky. It’s pretty safe to say that taking photos of aurora borealis requires patience and preparation. We’ve gathered some good tips on how to get the best photos of Northern Lights (and it has to be said that even with our experience, they still don’t always work out).
Camera and its settings
- You need a camera in which you can ideally adjust the aperture, the shutter speed, and the ISO. Help on all of these and further advice from photographylife. The ideal camera for this is usually an advanced camera (like a system camera or DSLR) or at least a something that allows for manual (M) adjustment of these values.
- Aperture (f/): A lens that is as wide as possible allows you to capture a wider array of the auroras. Your lens should also allow in as much light as possible because auroras can also be faint but fast.
- If you have to keep your exposure long to get in as much light as possible, the auroras may come out looking “mushy”.
- If you only have one lens on your camera, then remember: the smaller the aperture ratio is (f/), the better the lens speed. And this makes for a better picture. So, for example, an f/1.8 has a lot better lens speed than f/2.8 or f/3.5 lenses. So, small numbers are large apertures which let in more light (like f/1.8). And large numbers are small apertures which let in less light (like f/16).
- Set the white balance (WB) onto daylight if your camera has this option.
- Set your ISO between ISO400 and ISO1600. The bigger your ISO, the brighter the picture will be but it also increases noise in the picture, making it blurry. You will have to adjust the ISO according to how bright the Northern Lights are.
- Shutter speed / exposure time is something you will have to fiddle with because it depends on your other settings. You can try to see what you get with 2-20 second exposures. If the aurora are fast-moving, you can try a combination such as 2sec/ISO800; for slower movement, try 15-30 seconds.
- Zoom: Northern Lights require a lot of space. So try to set your zoom so that it zooms into infinity.
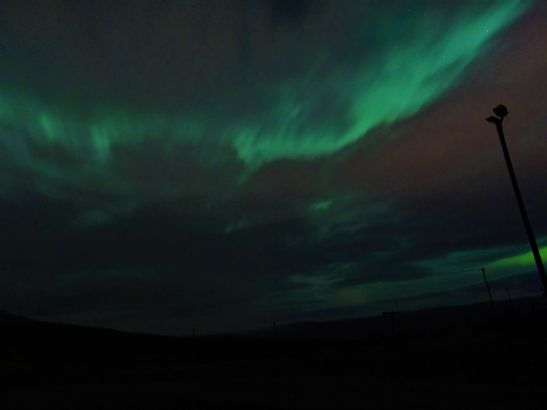
Photo by Tarja. Camera: Sony dsc-hx60v. Exposure 30sec. ISO 400.
Place where you take your photos
- Try to select a place that is as wide open as possible at least in the spot where you intend to take photos. Next to a lake or a field is good, or on top of a treeless hill or fjell/mountain (even better in my opinion). Always remember to observe Everyman’s Rights.
- Light pollution is your worst enemy. You won’t see (or be able to take photos of) Northern Lights if there is too much light. So, pick a spot that is as dark as possible.
How to take photos of the Northern Lights
- Have your camera on a stable stand (tripod etc.).
- Save some settings on your camera in advance, and then test them out when you get to a good spot. After you see some of your shots, make adjustments and see how other settings turn out.
- When you take a photo, press the shutter release very gently so that you don’t shake the camera and the photo. You can also try to use a shutter release timer (1 sec etc.) so you can avoid any shaking.
- Post-process your photos to get the most out of them. On PhotoShop, you can change the white balance towards different colours (like blue) and see what you get. You can also use the ‘Levels’ setting and play with the sliders to see what else is hiding in your photo.
All the good pictures of Northern Lights are by our blogger Guy (Guy Geffen). Read more about Guy’s arctic adventures, from the depths of frozen Lapland to the shores of the icy Norwegian sea or Iceland: facebook.com/guynorthernexposure/ . The rest of the photos are by Tarja. So, watch and learn what not to do from them.
Enjoy!
Hey Tarja, I think the pictures should say taken by GUY GEFFEN..That’s my full name.. Thank you.
Dear Guy, Thanks for pointing it out! All changed now.